


Leave Winter Behind with These Spring Cleanup Tips
Cleaning up your yard each spring can give your landscape the boost it needs to thrive throughout the entire warm weather season. Once the snow melts, here are some tips to ensure a successful start to the year.
Clean up winter debris. Snowplows, snowblowers and winter winds often push gravel and rocks, unraked leaves or garbage blown out of trash cans into your yard. Picking up the loose debris on your lawn cleans it up and prevents any toxins from leaching into your lawn.
PRO TIP: Don’t forget to clean out leaves and debris from any rock formations on your property with a leaf blower or outdoor vacuum.
Maintain your lawn. The grass in your lawn is usually the largest item on your spring cleaning list.
- First, remove deicing salt. Salt from driveways and roads can soak into your lawn and cause brown patches. Before the ground thaws, use a leaf blower to push salt from your grass onto a hard surface, such as a driveway or walkway.
- Check for snow mold, which forms when piles of snow are allowed to sit on the lawn for too long, leaving a white patch. Move or break up any snow patches so they’ll melt faster and cause fewer issues.
- Aerate your lawn to promote water and air movement in the soil and encourage root development.
- Thatch the lawn to remove dead growth from the grass, providing more air and sunlight to the roots and preparing the lawn to properly absorb fertilizer.
- Feed your lawn the right mix of fertilizer to help it grow thick and green all season long.
Check plant health. Once your landscape is cleared of debris and salt, you can assess your plant health.
- Remove dead plants to prevent any diseases that might have killed the plant from spreading further into your lawn or landscaping.
- Get soil samples if necessary to ensure your soil will support plant life.
Properly prune vegetation. Pruning damaged and dead branches on trees, bushes, and shrubs helps distribute nutrients to the areas that are thriving. This is also a good time to reduce the size of plants while they are still dormant. Wait to prune spring flowering shrubs until they’ve fully bloomed. Also cut back perennial plants and ornamental grasses to promote new growth.
Check gutters and downspouts. Settling during the winter can cause drainage issues, so it’s important to evaluate gutters and check for standing water around your foundation. If downspouts are in landscape beds, they should also be tiled to promote proper drainage and erosion control.
Assess the integrity of hardscape elements. Frost and snow often cause patios and paver bricks to settle, shift or crack. Identify any areas that need to be fixed or replaced, and make a plan for seasonal maintenance, such as sealing a concrete patio.
Get your irrigation system ready. This can include turning on the water, checking for damaged or broken watering heads, inspecting the lines for leaks, and adjusting nozzles or heads. Most homeowners aren’t familiar with this process, so it’s wise to contact a professional to ensure it’s done properly.
Adjust lighting. Spring is a good time to inspect outdoor light fixtures, adjust lighting angles, and replace bulbs or wiring to boost your curb appeal all year long.
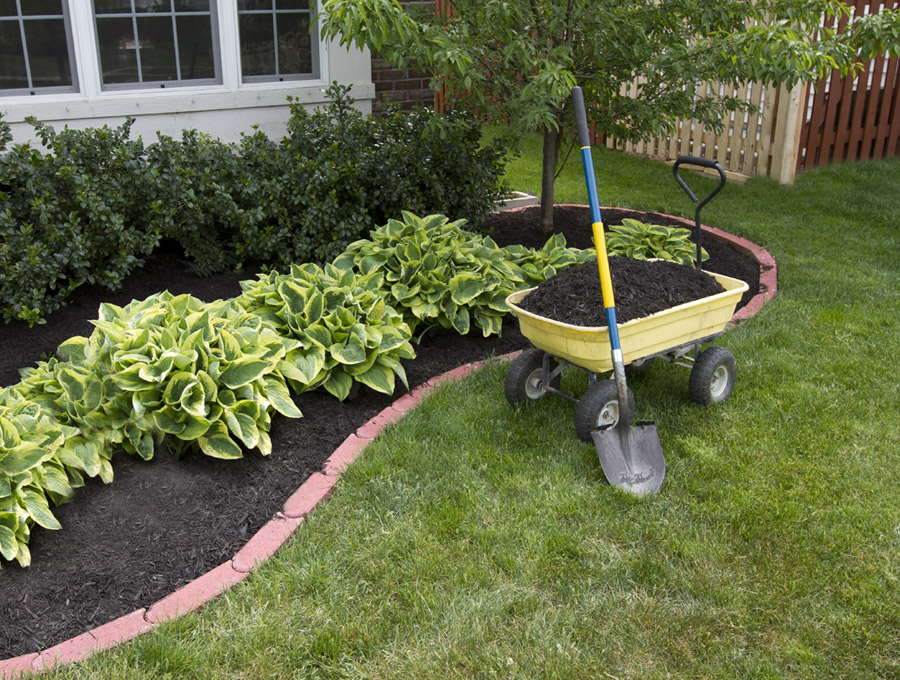
Get ready to mulch
One of the best ways to promote a healthy landscape all year long is by properly mulching your yard and flowerbeds in the spring.
- Identify the current level of mulch. If it’s thin and showing dirt, plan to add mulch. If it’s a thick layer, plan to remove some. If it shows signs of mold or disease, remove the mulch and replace with fresh.
- Cultivate existing mulch. Before adding mulch, turn over the existing mulch to introduce air and nutrients to the area.
- Determine how much mulch to add. Most flower beds need two to three inches of mulch. New construction landscaping usually needs closer to three inches, and established lawns usually need closer to two inches.
- Edge flower beds. Skip the plastic lawn edging and create a clean, soft edge around flower beds with mulch to prevent grass from encroaching on your plants and flowers.
- Mulch around trees. First, cultivate the mulch to ensure it’s breaking down and not forming a hard layer that can prevent water and nutrients from getting to tree roots. Then add mulch up to the root collar. Adding mulch higher could choke the tree, cause an insect infestation or lead to bark decomposition.
- Establish your height. When mulching around your home, mulch to the bottom edge of your siding, brick or wood exterior. If you mulch above this point, you could introduce pests or mold.
How to calculate the amount of mulch you need. First, measure the square footage of area you’re mulching by multiplying length by width. Then multiply that number by the depth of the mulch in feet. Then divide that number by 27 to get the cubic yardage.
PRO TIP: Add a little bit extra to your mulch order to ensure you have enough to cover your entire area.
Earlier is better. Put down mulch at the end of April or in early May, before perennials start coming up or flowers bloom. Turn over the existing mulch, cultivate it and add more mulch as needed. It’s also less expensive. It’s estimated that up to 10% of spring cleanup costs are in hand-mulching around blooming plants.
Consider your own time and labor. It could take a homeowner two hours to move just five yards of mulch – which can leave you sore and exhausted the next day. A professional four-person crew can move 20 yards (or more) in just a couple hours.
The Reesman Company are the experts in getting your landscape ready for the season. Call 262-539-2124 to speak with one of our landscape professionals or contact us for more information on how to keep your yard beautiful all year long.
0 CommentsLeave a Comment